Customizing Keychron V1Max QMK Firmware to Enable US Layout Input in JIS OS Settings
April 04, 2025
Introduction
While I use a US layout keyboard for personal use, there are situations at work where I have to use a US keyboard with JIS layout settings due to lack of administrator privileges on the PC.
This causes particular issues with commonly used symbols like @ and _ not matching their physical key positions, leading to typing errors and reduced work efficiency.
Since we can't modify the OS settings, this article explores a hardware-level solution.
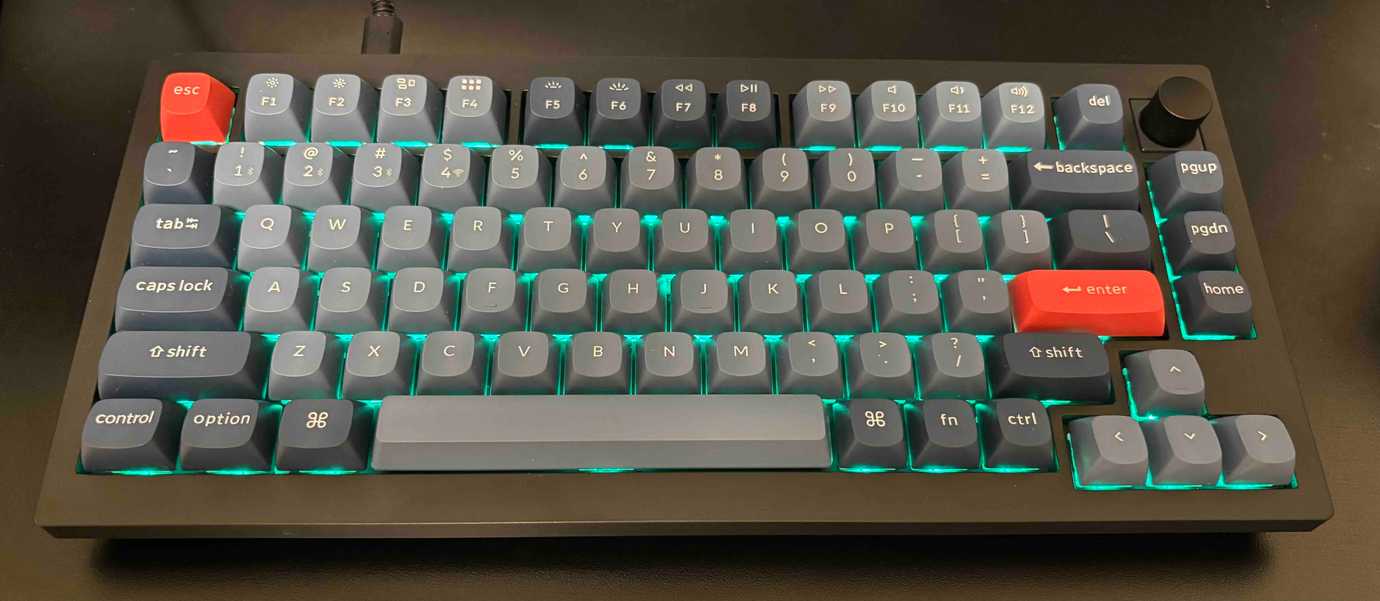
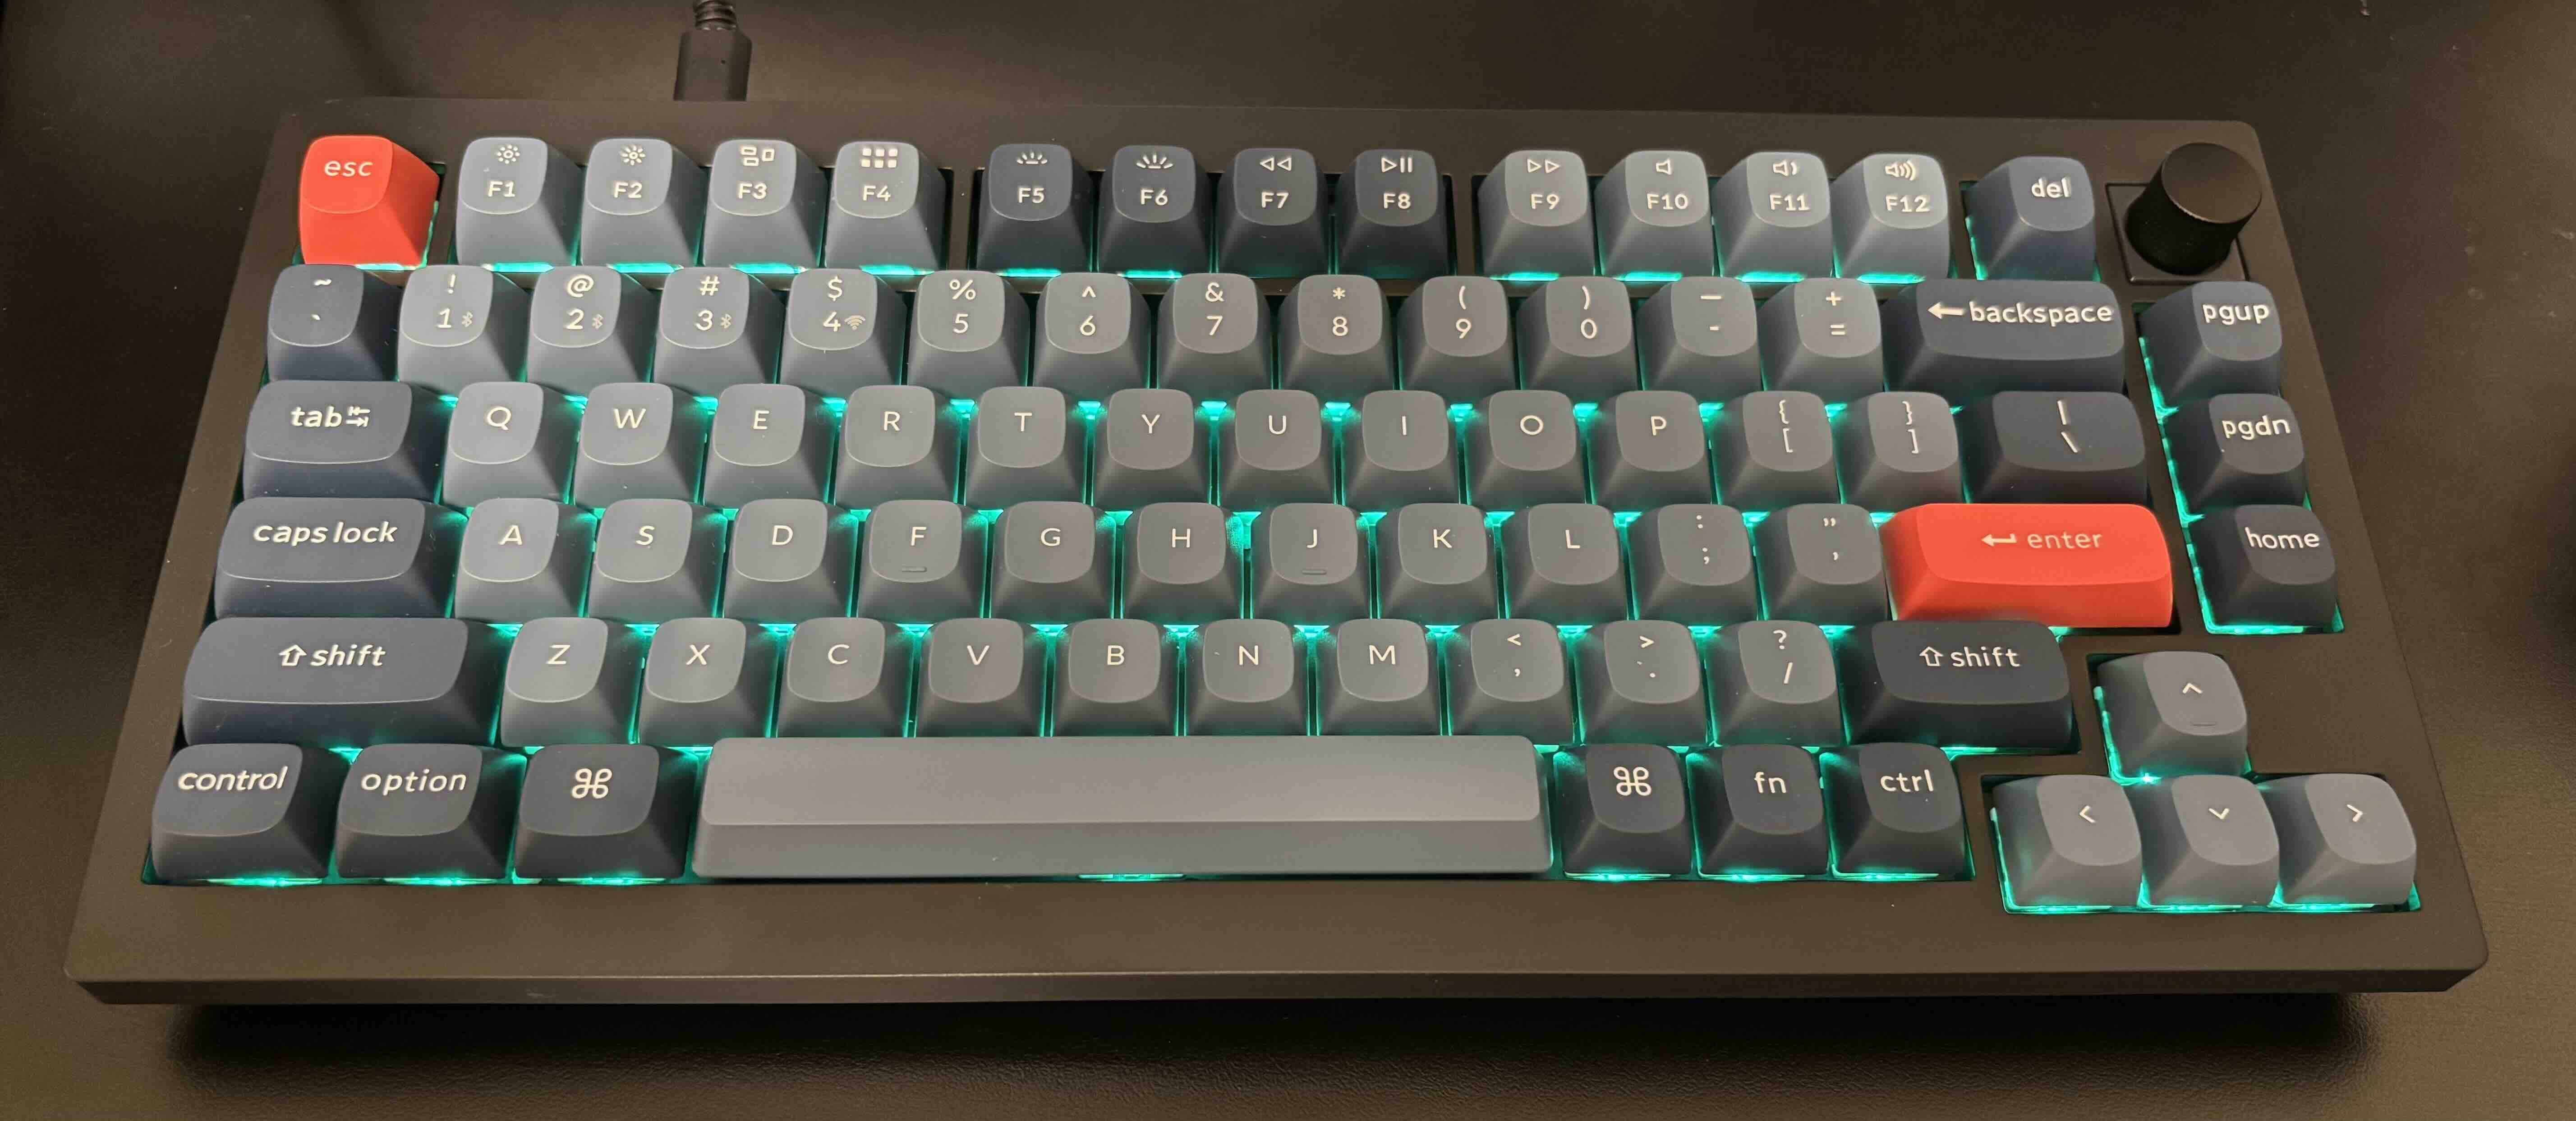
I chose the Keychron V1Max because it supports QMK Firmware flashing, which enables this customization.
The Keychron V1Max supports QMK Firmware, and its source code is publicly available.
This article explains how to customize the QMK firmware to achieve US layout key input even with JIS OS settings.
Note: According to Keychron's official statement, “Note: If everything works fine with your keyboard. Please don’t flash the firmware. There is a chance it can damage your keyboard.”, please proceed at your own risk.
What You Can Achieve
- Enable US layout key input even in JIS mode
- Switch between JIS and US modes
- Customize keys freely without worrying about OS keyboard layout settings
- Maintain the ability to customize using VIA's GUI after modifications
Author's Code
Available here:
Firmware Flashing Procedure
Install and set up QMK CLI
Install QMK Toolbox
Build QMK Firmware (assuming qmk home directory is
~/work/qmk_firmware)qmk compile -kb keychron/v1_max/ansi_encoder -km hnishiUpon successful compilation,
~/work/qmk_firmware/keychron_v1_max_ansi_encoder_hnishi.binwill be generated.Connect the keyboard and flash the created firmware (Reference: How to Factory Reset (Firmware) for V1 Max)
Customization Procedure
1. Setting Up QMK Firmware
First, fork the Keychron QMK firmware repository. Since V1 Max's source code is in the wireless_playground branch, make sure to include this branch in your fork.
qmk setup hnishi/qmk_firmware -H qmk_firmware -b wireless_playground
This command clones the repository to ./qmk_firmware in the current directory and performs necessary setup.
2. Configuring Keyboard and Keymap
Specify the keyboard and keymap in QMK configuration:
qmk config user.keyboard=keychron/v1_max/ansi_encoderqmk config user.keymap=hnishi
These settings are saved in ~/Library/Application Support/qmk/qmk.ini (on Mac).
3. Creating a New Keymap
qmk new-keymap
This command creates a new keymap in ~/work/qmk_firmware/keyboards/keychron/v1_max/ansi_encoder/keymaps/hnishi.
4. Customizing the Keymap
Keymap customization is done by editing the keymaps/hnishi/keymap.c file. For detailed configuration methods, refer to the QMK official documentation.
The code I created is available here:
I implemented the following customizations:
- JIS/US layout toggle with Fn + Esc key
- Settings persistence in EEPROM across reboots
- Mode indication through LED patterns
- JIS mode: Raindrops pattern (RGB_MATRIX_RAINDROPS)
- US mode: Cycle pattern (RGB_MATRIX_CYCLE_ALL)
5. Compiling the Firmware
Compile the firmware with the created keymap:
qmk compile -kb keychron/v1_max/ansi_encoder -km hnishi
Upon successful compilation, ~/work/qmk_firmware/keychron_v1_max_ansi_encoder_hnishi.bin will be generated.
References
The following articles and code were very helpful. Thank you.
- Add JIS Keyboard Mode to QMK
- Using US Keyboard with JIS Settings - weblog.sy
- Win/Mac/JIS/US Compatibility Analysis | twoboy
Product Recommendation
I purchased the red switch version. Despite my modest expectations, I'm quite satisfied with its typing feel and value for money. This is my first keyboard with a knob, which can be used to adjust volume and keyboard LED brightness. With VIA customization, you could also assign zoom in/out functions to the knob rotation for added convenience.
I purchased my Keychron V1 Max from the official Keychron website as it was the cheapest option. However, since it ships from overseas, it took about two weeks to arrive. If you buy it on Amazon, it will be delivered quickly as it ships domestically.
- Amazon Link (Japan): Keychron V1 Max
- Keychron Official Website: Keychron V1 Max
