ブログ記事リンクを Twitter に貼り付けた時にプレビュー画像を表示するようにする。
October 27, 2020
先日、自分のブログ記事を twitter に貼りました。
せっかくサムネイル画像のスペースがあるのに、何もなくて寂しいということで、ここに画像を表示することを目�指します。
結論: 設定手順
- 前提: gatsby-theme-blog を使っている
gatsby-config.jsに自分のブログページの siteUrl を設定- 記事のマークダウンファイルのヘッダー (frontmatter) の
imageorsocialImageに image file の相対パス or 外部 URL を設定すれば良い imageを設定した場合、投稿したページの top にも、その画像が表示される- Twitter のプレビューのみに表示させたい場合や、
imageで指定した別の画像�を表示させたい場合は、socialImageをセットすれば良い
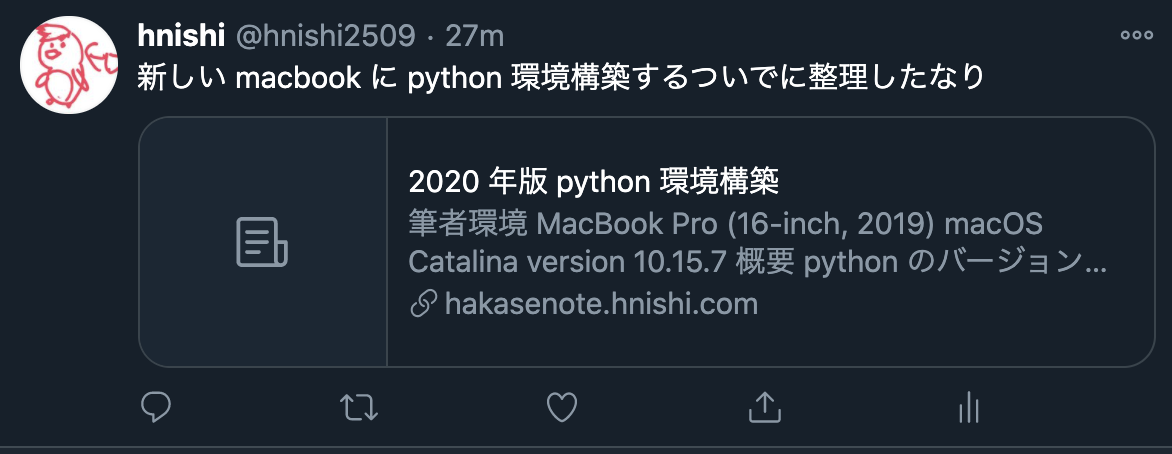
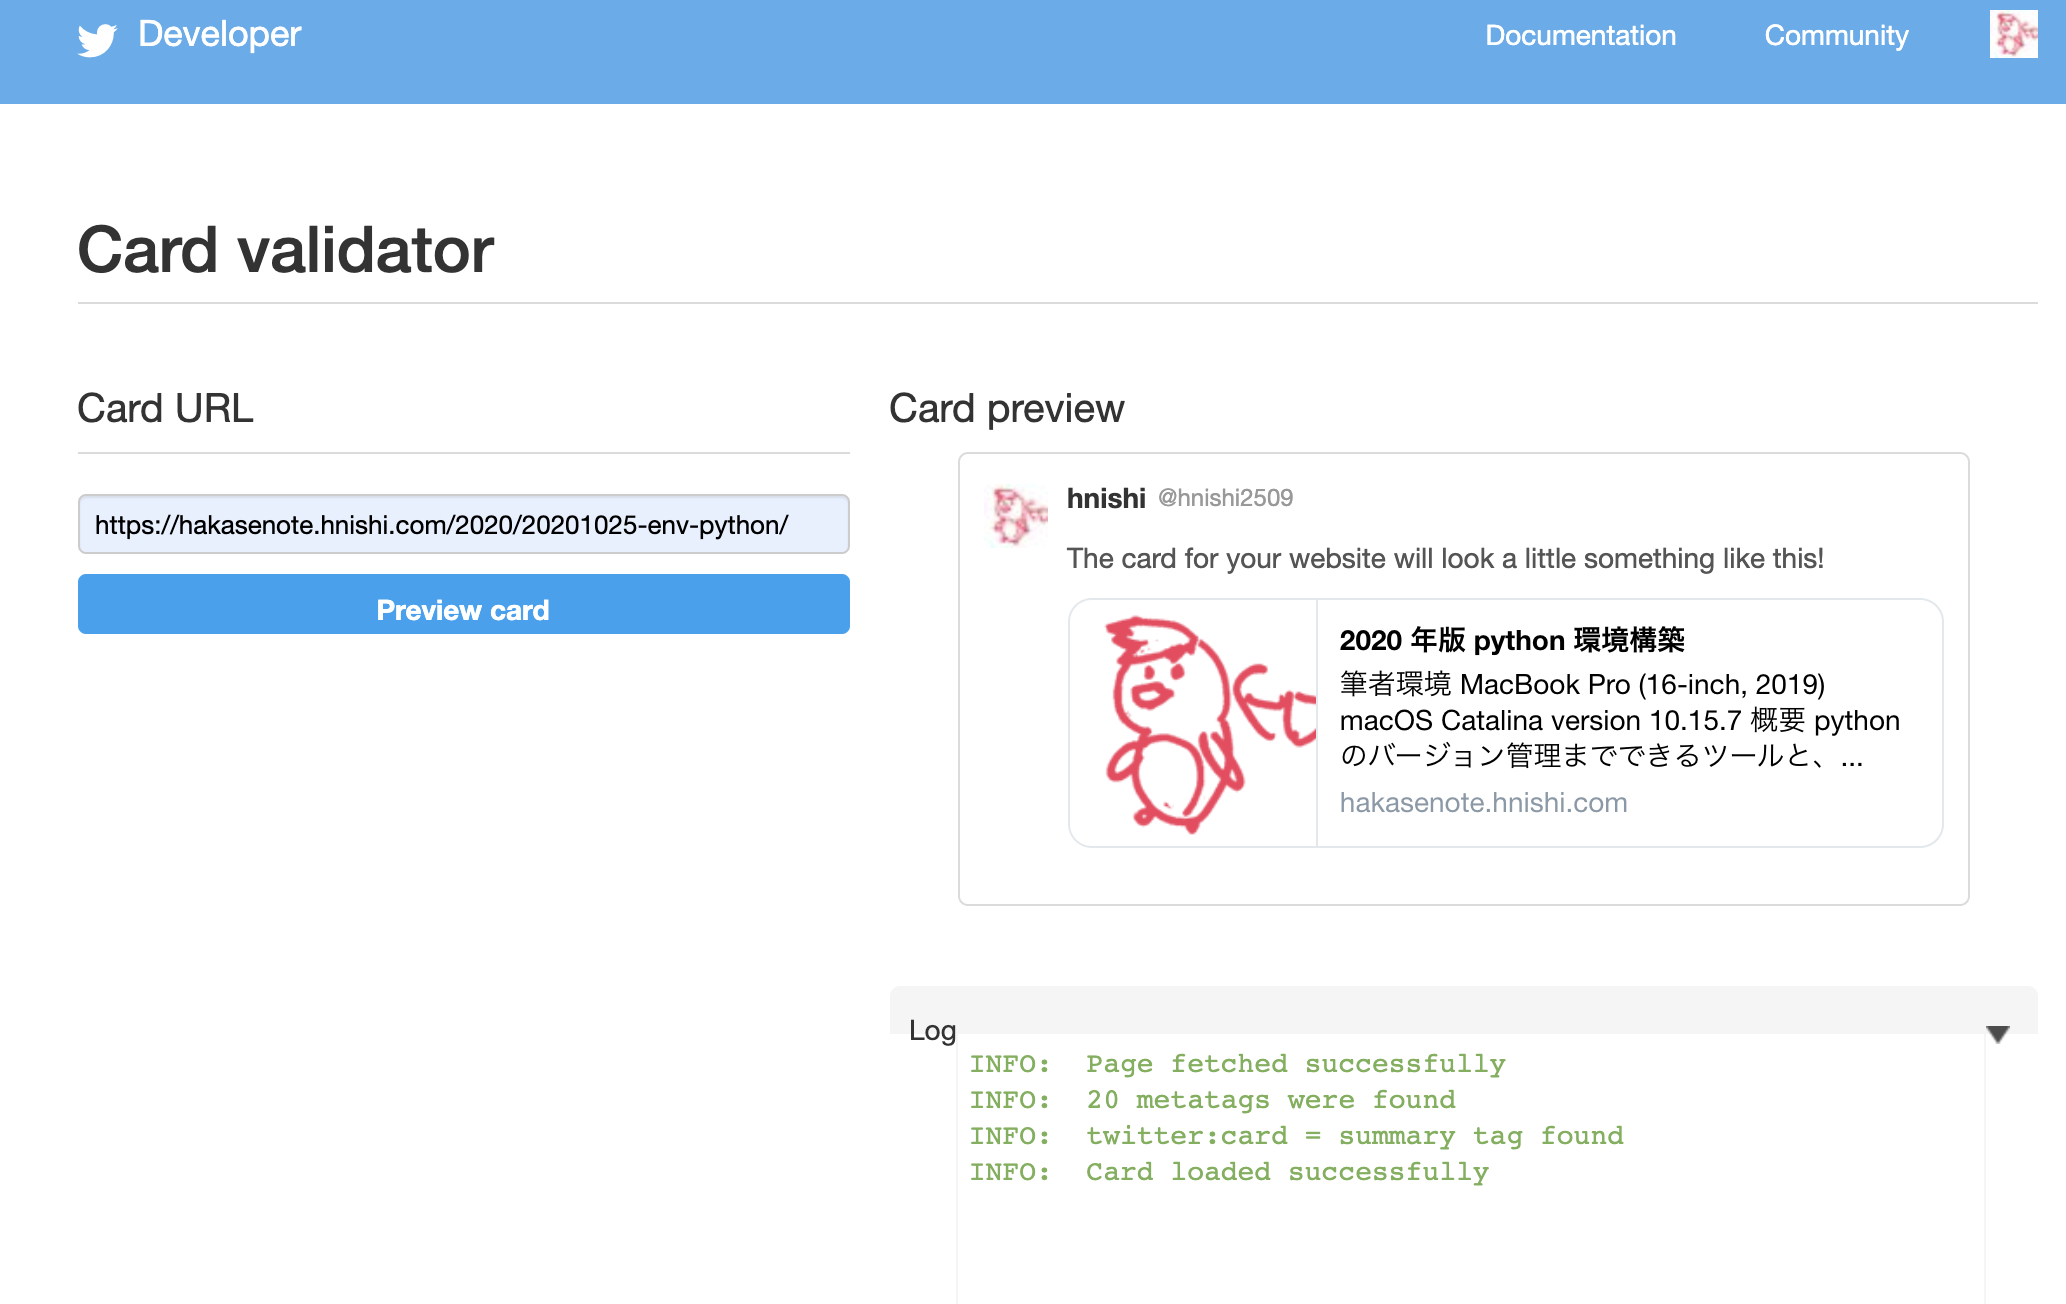
例: https://hakasenote.hnishi.com/2020/20201025-env-python/
--- a/gatsby-config.js+++ b/gatsby-config.js@@ -31,6 +31,7 @@ module.exports = {title: `ハカセノオト`,author: `hnishi`,description: `hnishiのブログ。技術系の記事など。`,+ siteUrl: `https://hakasenote.hnishi.com/`,menuLinks: [{name: `Blog`,
---title: 2020 年版 python 環境構築date: 2020-10-25tags: ["Python", "Mac"]socialImage: ../../assets/avatar.pngimage: https://www.python.org/static/community_logos/python-logo-master-v3-TM-flattened.pngkeywords: ["Linux"]---## 筆者環境- MacBook Pro (16-inch, 2019)- macOS Catalina version 10.15.7
Ref: gatsbyjs/themes
Appendices: というか作業ログ
twitter card について
この、URL を twitter に貼り付けた時に画像が展開される仕組みのことを何ていうんだっけ?(前に聞いた or 読んだ覚えがあるが。。。)
ということで、ちょっと調べてみました。
twitter card というらしい。
Twitter カードには合計で 4 種類の形があるらしい。
現状のブログには、このうち、(1) Summary Card が設定されているらしい。
gatsby-theme-blog で social card を設定する方法
私のブログは、 gatsby-theme-blog をベースに作成されており、既に SEO (Serch Engine Optimization) として、twitter card を出せるように用意してくれている。
gatsby-theme-blog の以下の箇所。
function SEO({ description, lang, meta, title, imageSource, imageAlt }) {
imageSource を渡すようになっている。
gatsby-theme-blog じゃないけど、以下に説明がある。
Search Engine Optimization (SEO) and Social Sharing Cards with Gatsby
gatsby-theme-blog/README.md にも記載がある。
image refers to the featured image at the top of a post and is not required. It will also appear as the preview image inside a social card. Note that this requires you to set siteUrl in your gatsby-config.js file metadata to your site’s domain.
というわけで、 gatsby-config.js に自分のブログページの siteUrl を設定して、frontmatter に image の相対パス or 外部 URL を設定すれば良いらしい。そうすれば、social card のプレビューに反映されると記載がある。
以下のように修正。
--- a/gatsby-config.js+++ b/gatsby-config.js@@ -31,6 +31,7 @@ module.exports = {title: `ハカセノオト`,author: `hnishi`,description: `hnishiのブログ。技術系の記事など。`,+ siteUrl: `https://hakasenote.hnishi.com/`,menuLinks: [{name: `Blog`,
ただし、この image が投稿したページの top に表示される画像でもあるので、投稿ページに表示したくはないが SNS のプレビューのみに表示させたい場合は、 socialImage をセットすれば良いらしい。
You may want to use a different image for social sharing than the one that appears in your blog post. You can do so by setting socialImage in frontmatter.
gatsby-theme-blog での実装箇所は以下。
const image = imageSource? `${site.siteMetadata.siteUrl}${imageSource}`: nullconst imageAltText = imageAlt || metaDescription
imageSource={post.socialImage? post.socialImage?.childImageSharp?.fluid.src: post.image?.childImageSharp?.fluid.src}
Ref: 条件 (三項) 演算子
GraphiQL で確認する。
マークダウンファイルの frontmatter は以下のように記載。
画像はとりあえず、自分のアイコンを相対パスで指定。
---title: ブログ記事リンクを Twitter に貼り付けた時にプレビュー画像を表示するようにする。date: 2020-10-27tags: ["GatsbyJS", "Blog"]keywords: ["gatsby.js", "social card", "sns", "twitter", "link"]socialImage: ../../assets/avatar.png---
gatsby develop —> http://localhost:8000/___graphql
query MyQuery {allBlogPost(sort: { fields: date, order: DESC }, limit: 1) {edges {node {idtitlesocialImage {idchildImageSharp {fluid {src}}}}}}}
出力結果
{"data": {"allBlogPost": {"edges": [{"node": {"id": "edbae125-292a-584d-9727-9a30bb72ca5b","title": "ブログ記事リンクを Twitter に貼り付けた時にプレビュー画像を表示するようにする。","socialImage": {"id": "438fff30-6614-53bd-be59-6051f220422b","childImageSharp": {"fluid": {"src": "/static/7802f373ecfc3af799d07f3f6becbbd7/460e9/avatar.png"}}}}}]}},"extensions": {}}
なるほど、 ${site.siteMetadata.siteUrl}${imageSource} で https://hakasenote.hnishi.com/static/7802f373ecfc3af799d07f3f6becbbd7/460e9/avatar.png が最終的な画像の URL となる。
やってみたはいいが、これ、確認するためには twitter に投稿してみるしかないのか。。。
そんなわけなかった。以下のページで、validation できる。
https://cards-dev.twitter.com/validator
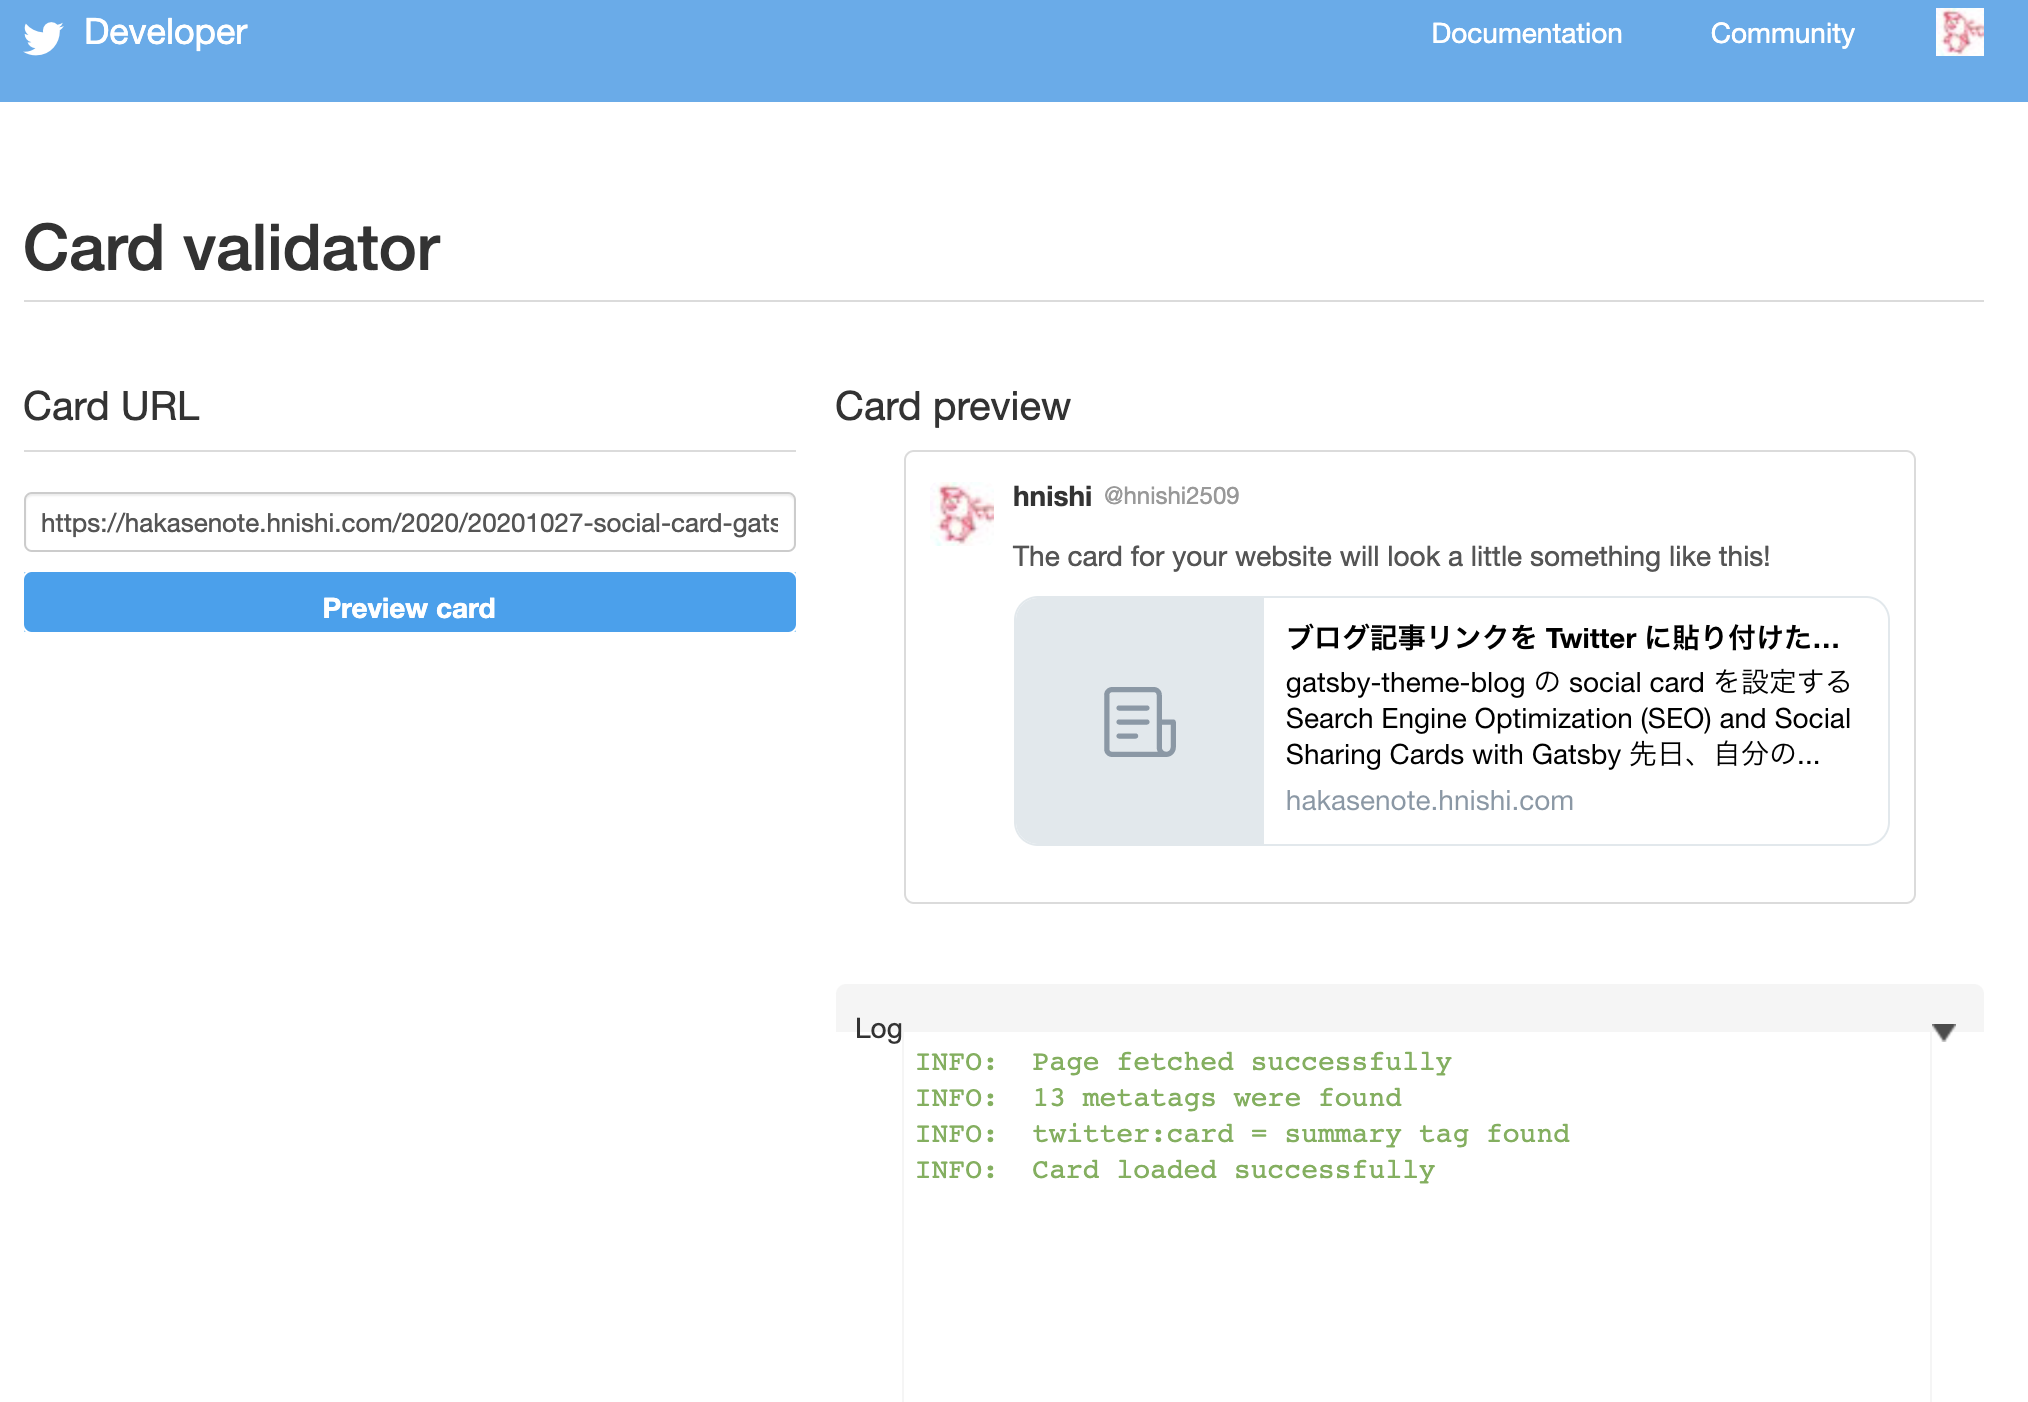
うーん。画像が表示されない。。。
chrome dev tool でみると、画像が html の meta tag に設定されていない。
以下のドキュメントを読んでみる。
<meta property="og:image" content="http://graphics8.nytimes.com/images/2011/12/08/technology/bits-newtwitter/bits-newtwitter-tmagArticle.jpg" />
上記のような設定が必要っぽい。
Gist だと例えば、以下のように設定されている。
<meta property="og:image" content="https://github.githubassets.com/images/modules/gists/gist-og-image.png">
以下で、設定されるような実装にちゃんとなっている。
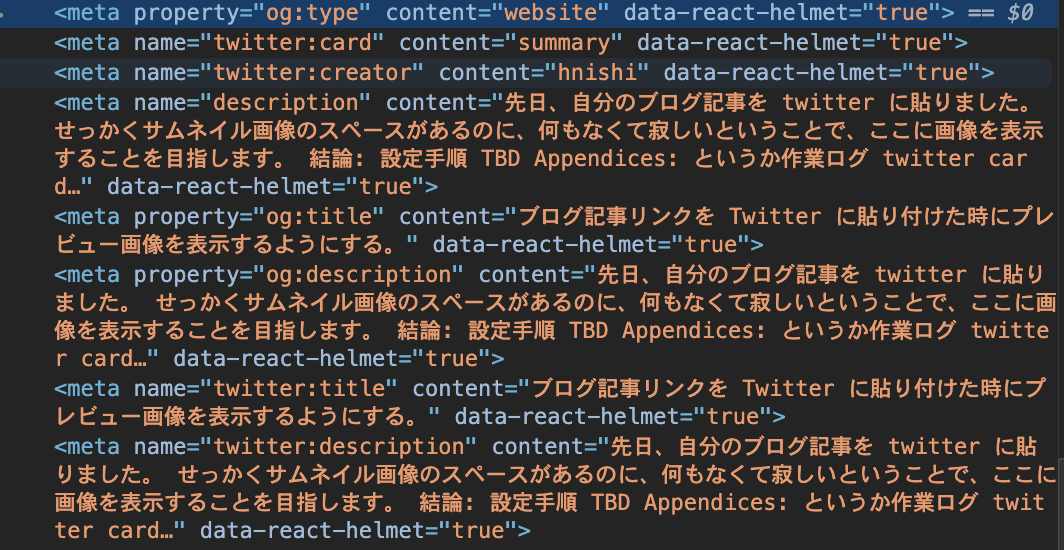
原因が判明した。
なぜか、 src/gatsby-theme-blog/components/seo.js で謎のシャドーイングを行っていたため、ちゃんと設定できていなかった。修正 done。
ちゃんと meta tag にも設定されていることを確認した。

Card validator でも、ちゃんとアバタが preview で表示されることを確認した。 デカくないか?
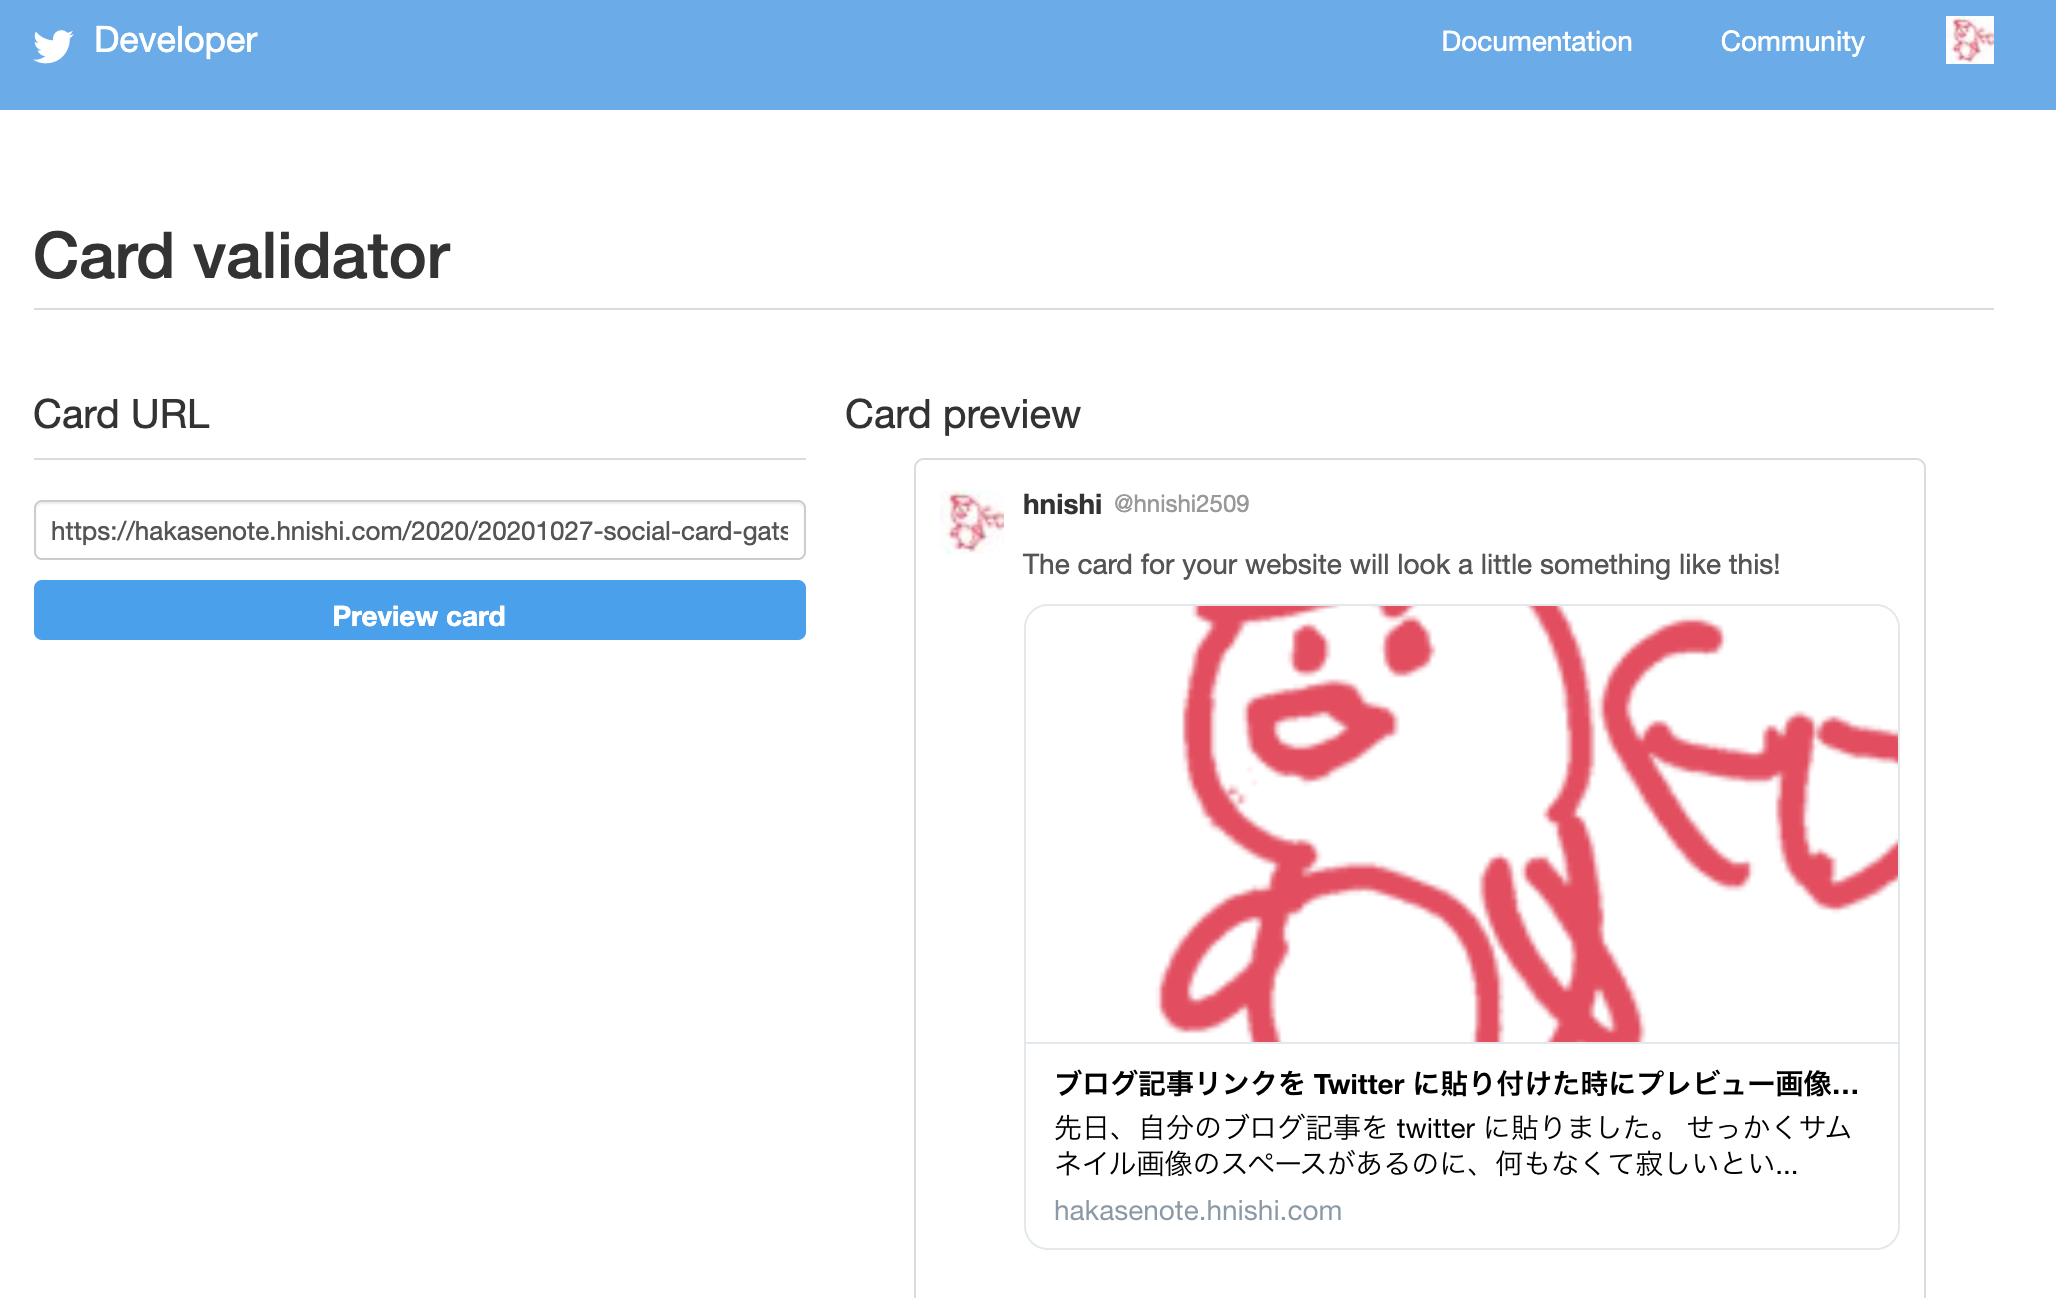
summary_large_image になってたので、 summary に戻す。
--- a/src/gatsby-theme-blog/components/seo.js+++ b/src/gatsby-theme-blog/components/seo.js@@ -82,7 +82,7 @@ function SEO({},{name: `twitter:card`,- content: `summary_large_image`,+ content: `summary`,},{name: `twitter:creator`,
やっと、いい感じになった
Twitter 公式としては、image はそのページ内容に沿った固有なもので、author の写真や general な logo は使うべきではないらしい。
ということは、Gist はこのガイドラインには従っていないという事か。
適当な画像がない場合のデフォルトを設定する分には、使い回しの共通な画像でも良いという(都合が良い)解釈にしておこう。
A URL to a unique image representing the content of the page. You should not use a generic image such as your website logo, author photo, or other image that spans multiple pages.
summary の場合は、画像サイズは、144x144 が最小サイズらしい。
Images for this Card support an aspect ratio of 1:1 with minimum dimensions of 144x144 or maximum of 4096x4096 pixels. Images must be less than 5MB in size.
SEO における keywords の重要性について
ちなみに、完全に余談だが、最近、gatsby-theme-blog に更新があって、keywords の meta tag が削除されたみたい ( ref )。
調べてみると、keywords は “useless” とか言われていた。
I still laugh when I come across websites using the Keywords tag. The best though is when people know the tag is useless and put a funny message in there. Its the little things in life.
けど、今でも、Baidu とかが keywords を使っているらしい。
Yandex, Baidu and I think Naver still use them.
私は、とりあえず、gatsby-theme-blog の update はせずに、keywords を残しておくことにする。
frontmatter が設定されていない時のデフォルトを作りたい。
content/assets/avatar.png の path を取得するには、以下のようなクエリを使えば良い。
query MyQuery {avatar: file(absolutePath: {regex: "/avatar.(jpeg|jpg|gif|png)/"}) {childImageSharp {fixed(width: 48, height: 48) {src}}}}
以下のように、 src/gatsby-theme-blog/components/seo.js を書き換える。
--- a/src/gatsby-theme-blog/components/seo.js+++ b/src/gatsby-theme-blog/components/seo.js@@ -19,7 +19,7 @@ function SEO({imageSource,imageAlt,}) {- const { site } = useStaticQuery(+ const { site, avatar } = useStaticQuery(graphql`query {site {@@ -30,6 +30,13 @@ function SEO({siteUrl}}+ avatar: file(absolutePath: {regex: "/avatar.(jpeg|jpg|gif|png)/"}) {+ childImageSharp {+ fixed(width: 144, height: 144) {+ src+ }+ }+ }}`)@@ -37,7 +44,7 @@ function SEO({const metaDescription = description || site.siteMetadata.descriptionconst image = imageSource? `${site.siteMetadata.siteUrl}${imageSource}`- : null+ : `${site.siteMetadata.siteUrl}${avatar.childImageSharp.fixed.src}`const imageAltText = imageAlt || metaDescriptionreturn (
これで、frontmatter で指定しなかった記事に対しても、デフォルトで avatar を Twitter の Preview に表示できることを確認した。